How to Make the Perfect Graduation Photo Album
Your child is graduating! They’ve done it. You've done it. It’s a huge milestone – and it deserves to be remembered properly. One of the best ways to do this? Create a beautiful, thoughtful photo album that captures their university years and the huge relief of the graduation day.
Here’s how to put it together
1. Start with the Right Album
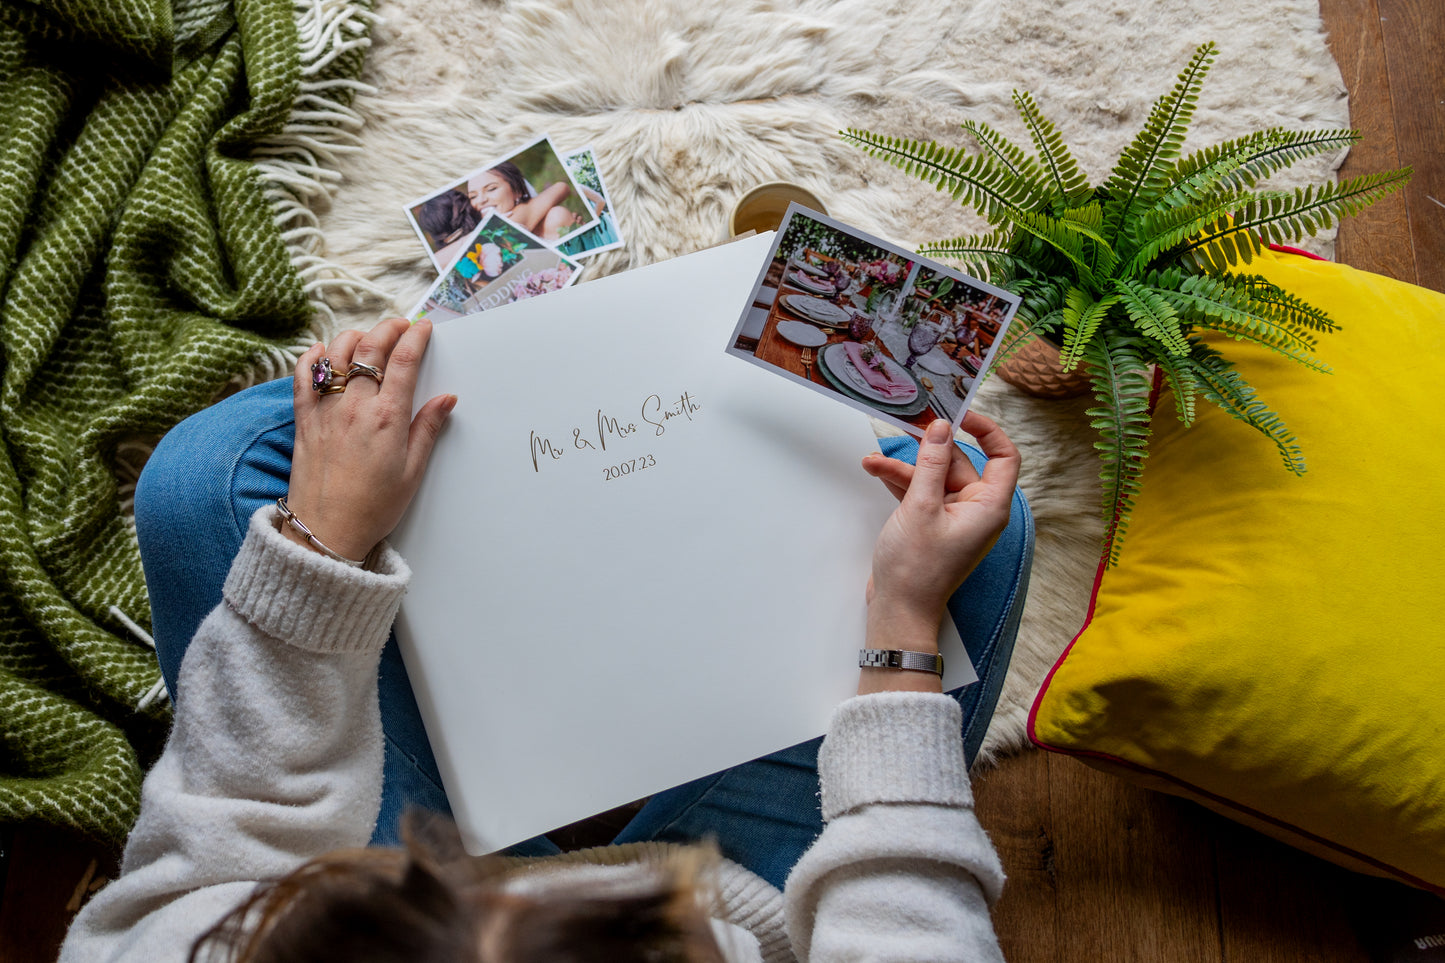
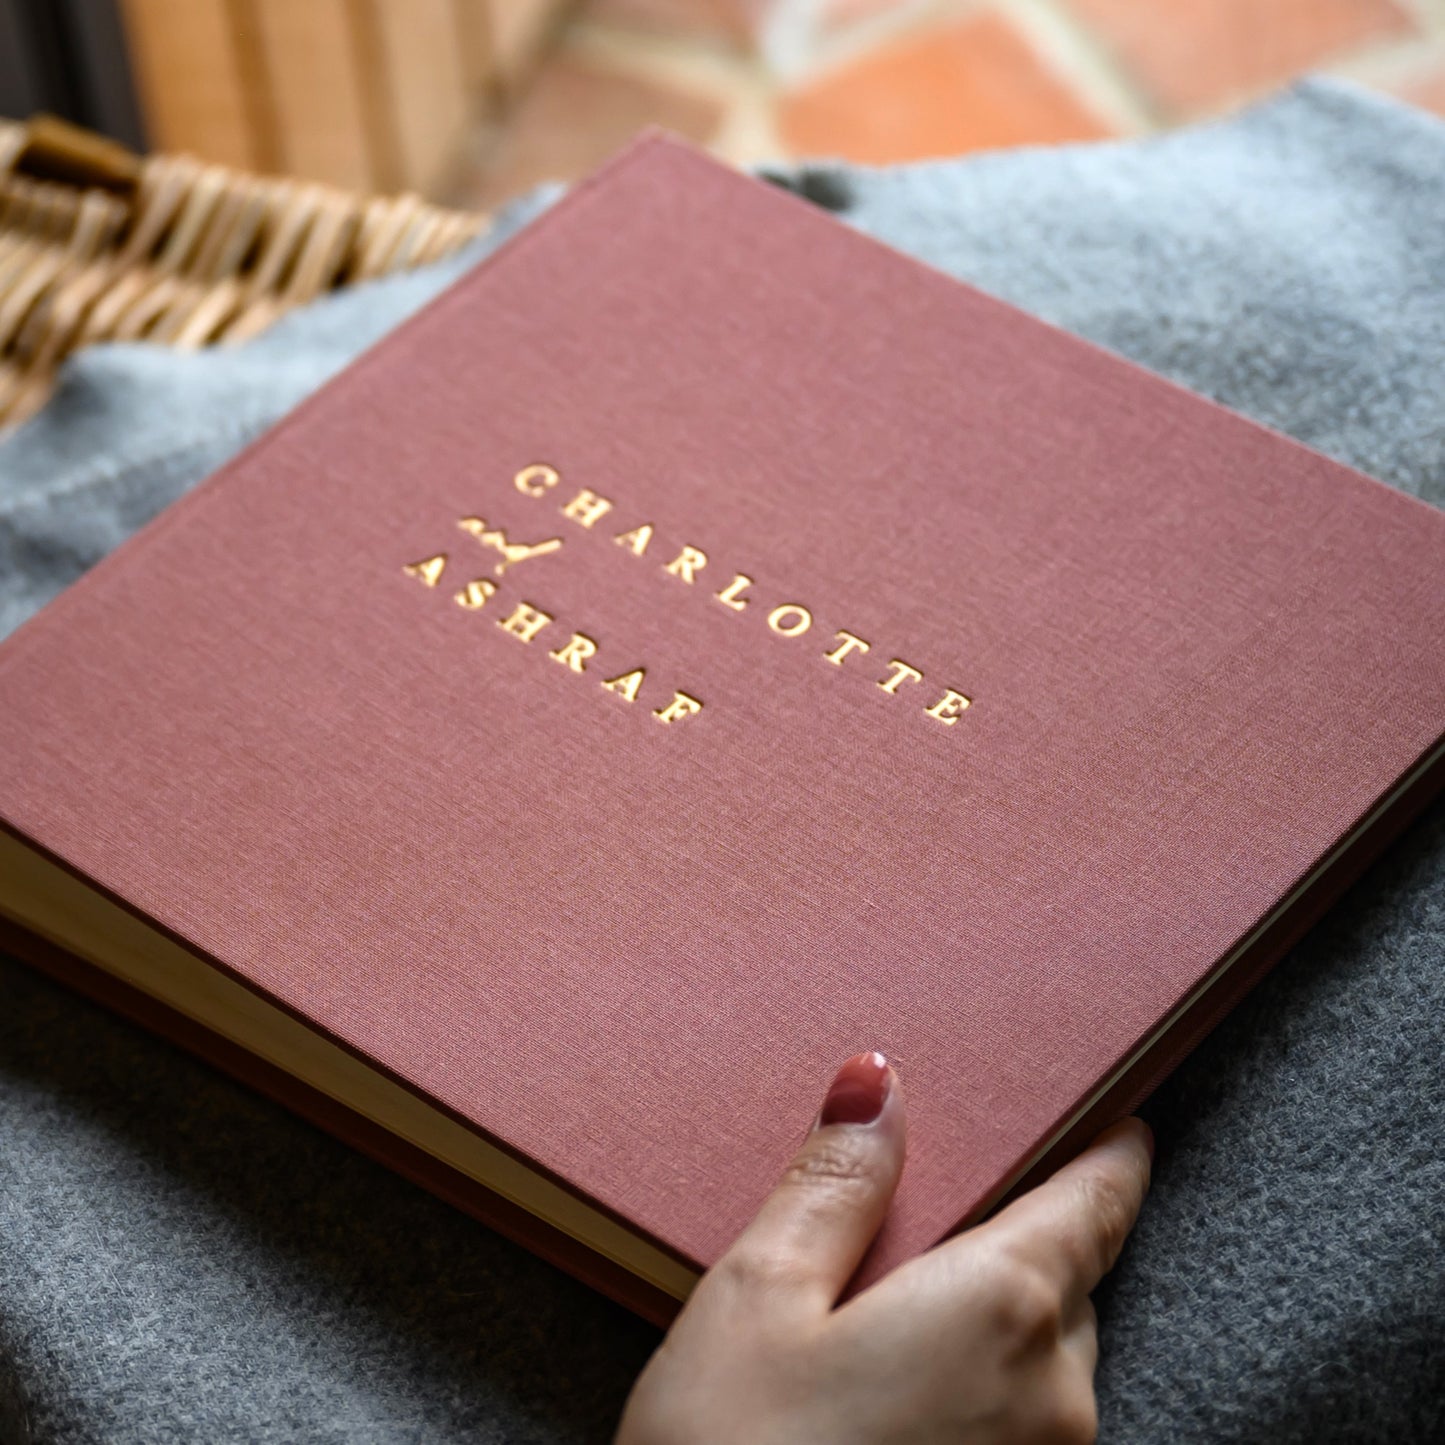
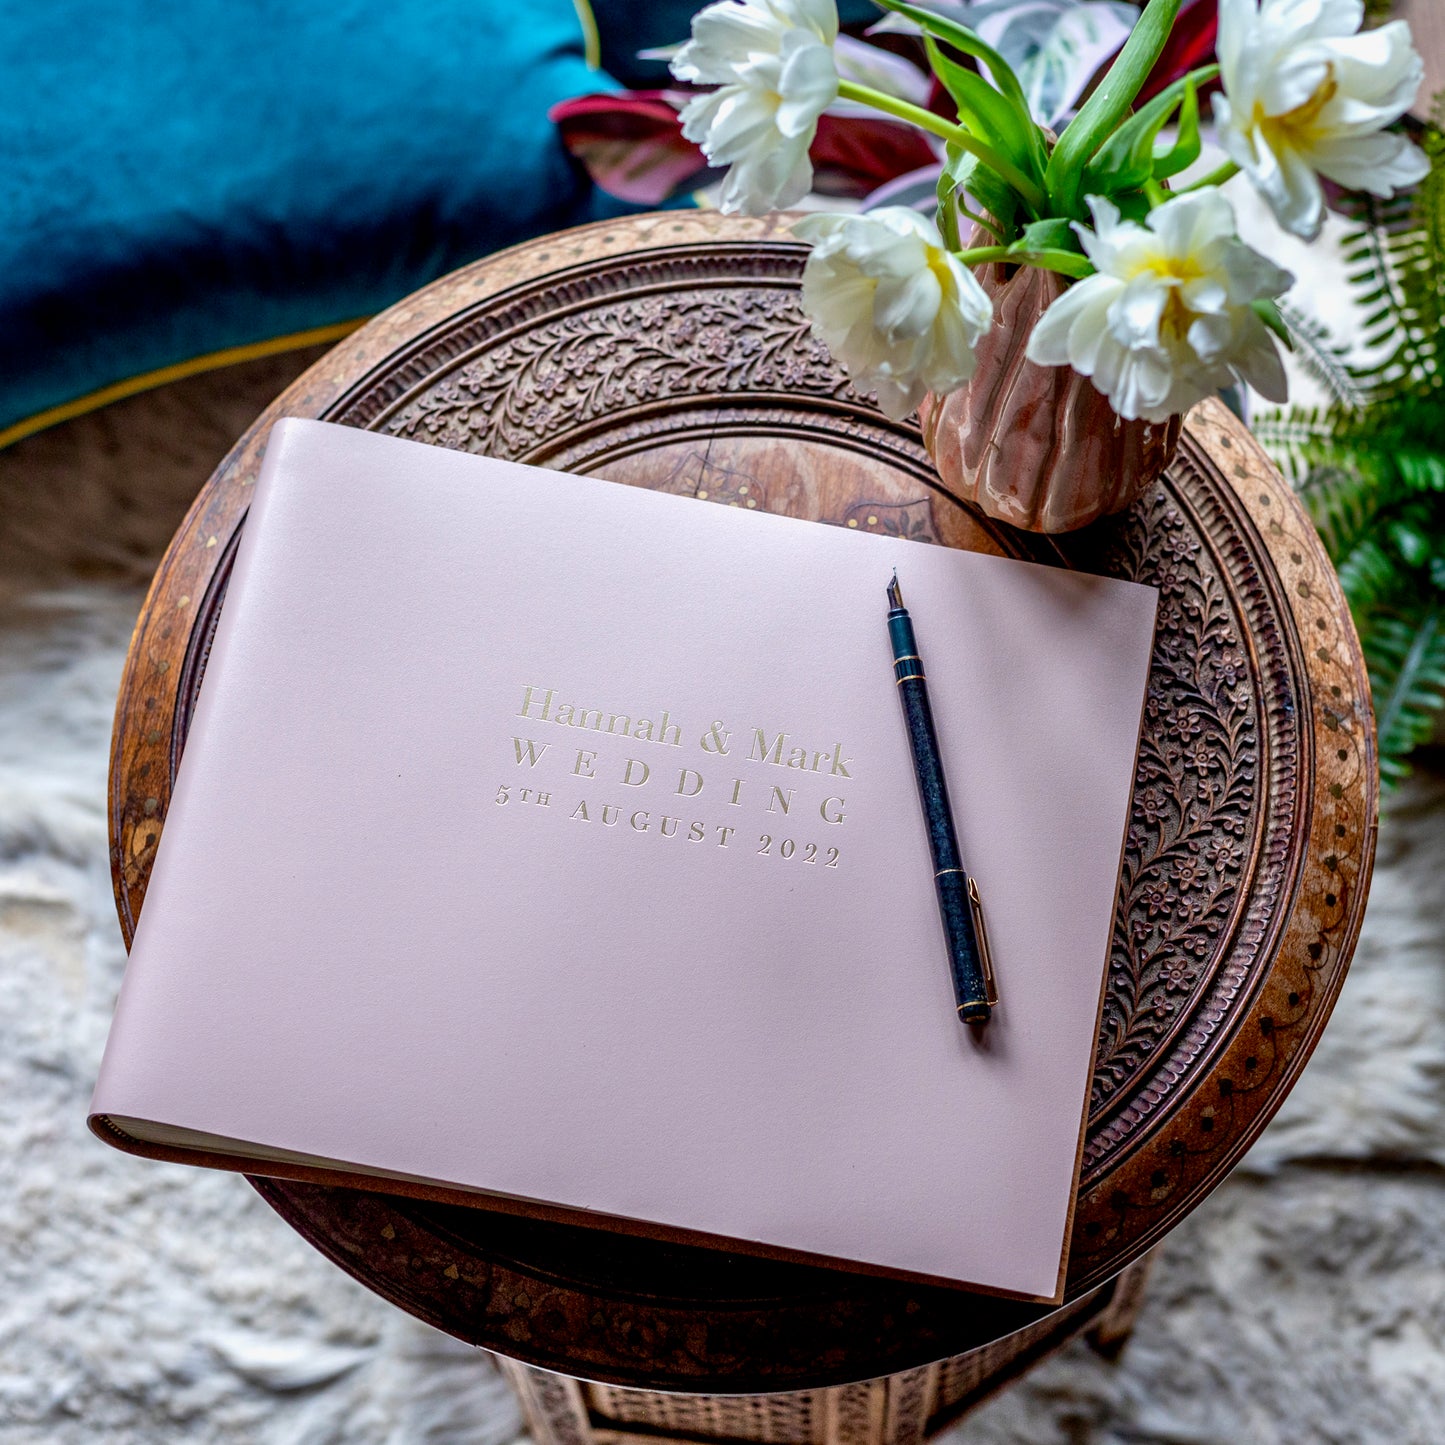
This isn’t just any photo album – it’s one they’ll keep for years (and maybe show their own kids one day). Looking back over the University Years is one of the best ever nostalgia trips so choose something timeless, tactile, and built to last. We’d suggest one of our recycled leather albums – beautiful, eco-friendly, and just the right amount of grown-up.
2. Gather the Photos
Go back to the beginning ( you may need their help with this, or collude with one of their best friends) – Fresher’s Week, moving into halls, the new friends, their kitchen group etc. Collect photos from group chats, social media, your own phone, and theirs. Don't forget the quieter moments too – get photos of the library, their department block, campus etc.
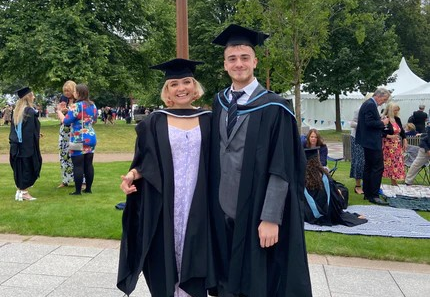
Then move through the years: holidays, birthdays, placements, fancy dress parties, and everything in between. Finally, collect all the photos from the graduation ceremony – the proud cap-and-gown moment, family hugs, the celebrations, the meal after. Get lots of you in there too - when I look back at the graduation photo album my Mum made for me I can't believe how my parents were the age I am now and how at the time I thought they were really old!
Tip: Aim for around 80-120 photos – enough to tell a story, but not so many it becomes overwhelming.
3. Print the Photos
There’s something so satisfying about printed photos. Choose a good-quality print service – we recommend a matte finish to avoid sticky fingers and shiny glare.
A mix of sizes works well. Standard 6x4s are great, but throw in a few square prints or enlargements for variety. A full-page photo of them in their gown? Why not.
4. Plan the Layout
Before you get sticking, lay everything out loosely in the album, just so you can gauge if you have far too many photos or nowhere near enough. Start at the beginning – first days and early memories – and build chronologically toward graduation.
Mix things up: you could dedicate full spreads to big events (a birthday weekend, first grimy student house, the graduation day), and slot in smaller everyday moments in between.
5. Add Personal Touches
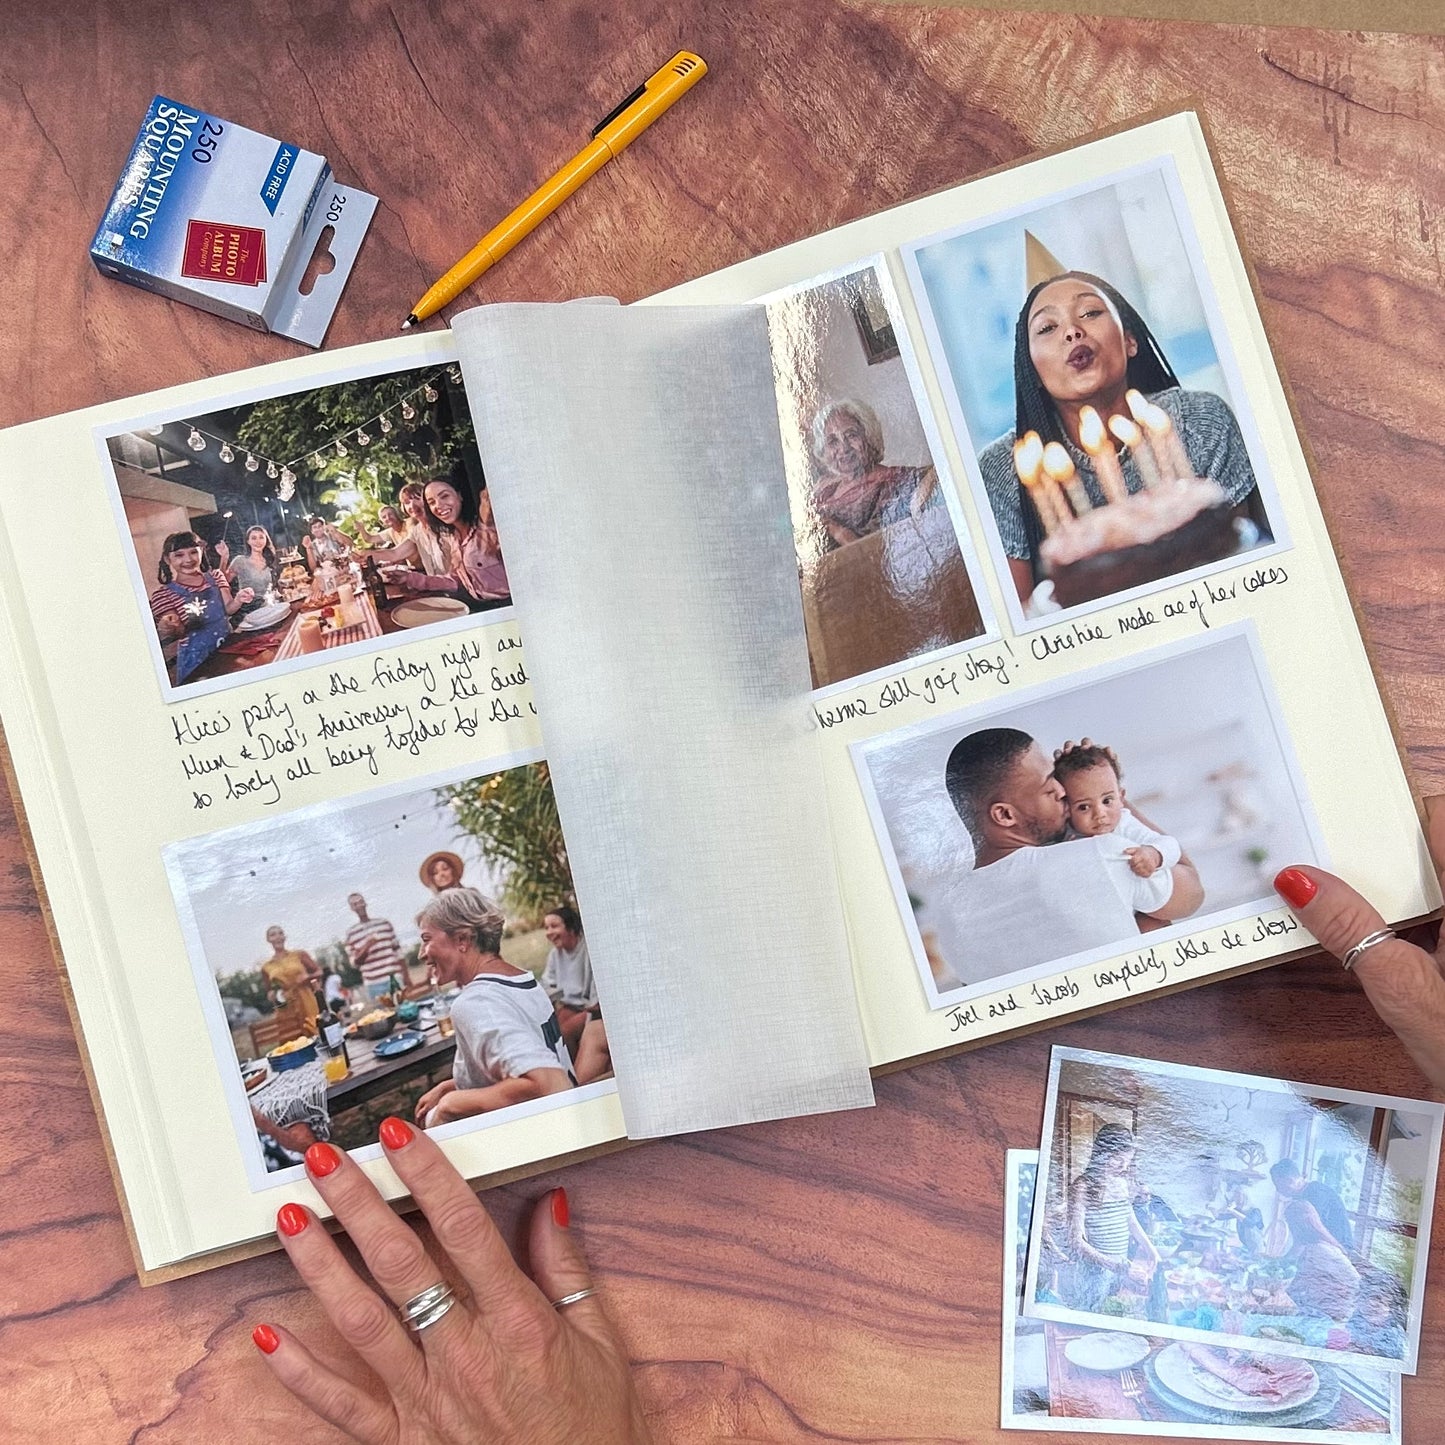
This is where the magic happens. And this is where a traditional photo album that you can write in and stick stuff in works best!
Write little captions: dates, locations, inside jokes, quotes from tutors (ambitious task but you may get some if you ask their friends), names of housemates. If you’ve kept any tickets, postcards, or notes from them – now’s the time to stick them in. A screenshot of text messages
You could even leave a few blank pages at the end for future reunions or to add messages from friends and family.
6. Give It to Them – or Let Them Help Finish It
Wrap it up as a surprise graduation gift, or if your child is the creative type, give them a part-finished album with space to add their own memories. Either way, it’s something they’ll treasure forever
