


If your wedding photos are still living on a phone, a USB or somewhere in the cloud, you are so not alone. Life rolls on, anniversaries arrive and your beautiful photos stay hidden in folders. A handmade photo album can change that! It turns pixels into pages you can hold, show and keep forever. Here’s a simple, no‑stress guide from us here at BeGolden, to take you from camera roll to heirloom in a single cosy weekend (with a tiny bit of prep before hand!)
Step 1: How do I get started?
Kick things off by creating a new folder called Wedding Album Picks. Do a fast first flick through and save the best shot of each key moment: getting ready, aisle, vows, confetti, couple portraits, speeches, first dance, evening fun. Aim for about 300 to 400 shots in total, which will fill one of our 40-page (80 sides) large photo albums perfectly.
Step 2: How do I choose an album?
All our photo albums are handmade with acid free photoboard and traditional binding - built to last decades. If you love a clean, modern look, try our Luxurious and Large Wedding Photo Album. Prefer something luxe and tactile? Our Large Linen Personalised Album is this season's bestseller. All our large photo albums are 32cms x 32cms and hold between 300 - 400 photos, depending on size and orientation
Step 3: What size photos will I need?
Mix sizes for interest: opt for mostly 6×4" and 7×5" sizes, with a handful of 8×6" hero images. Choose lustre/matte over glossy to avoid glare and fingerprints. Pop a few black‑and‑white versions in your order - they make gorgeous “breather” pages between colourful spreads.
Step 4: How do I order photo prints?
There are lots of apps that you can use (we use Freeprints as they are really reliable and good but there are loads of different ones out there) or look at Boots, Snappy Snaps etc.
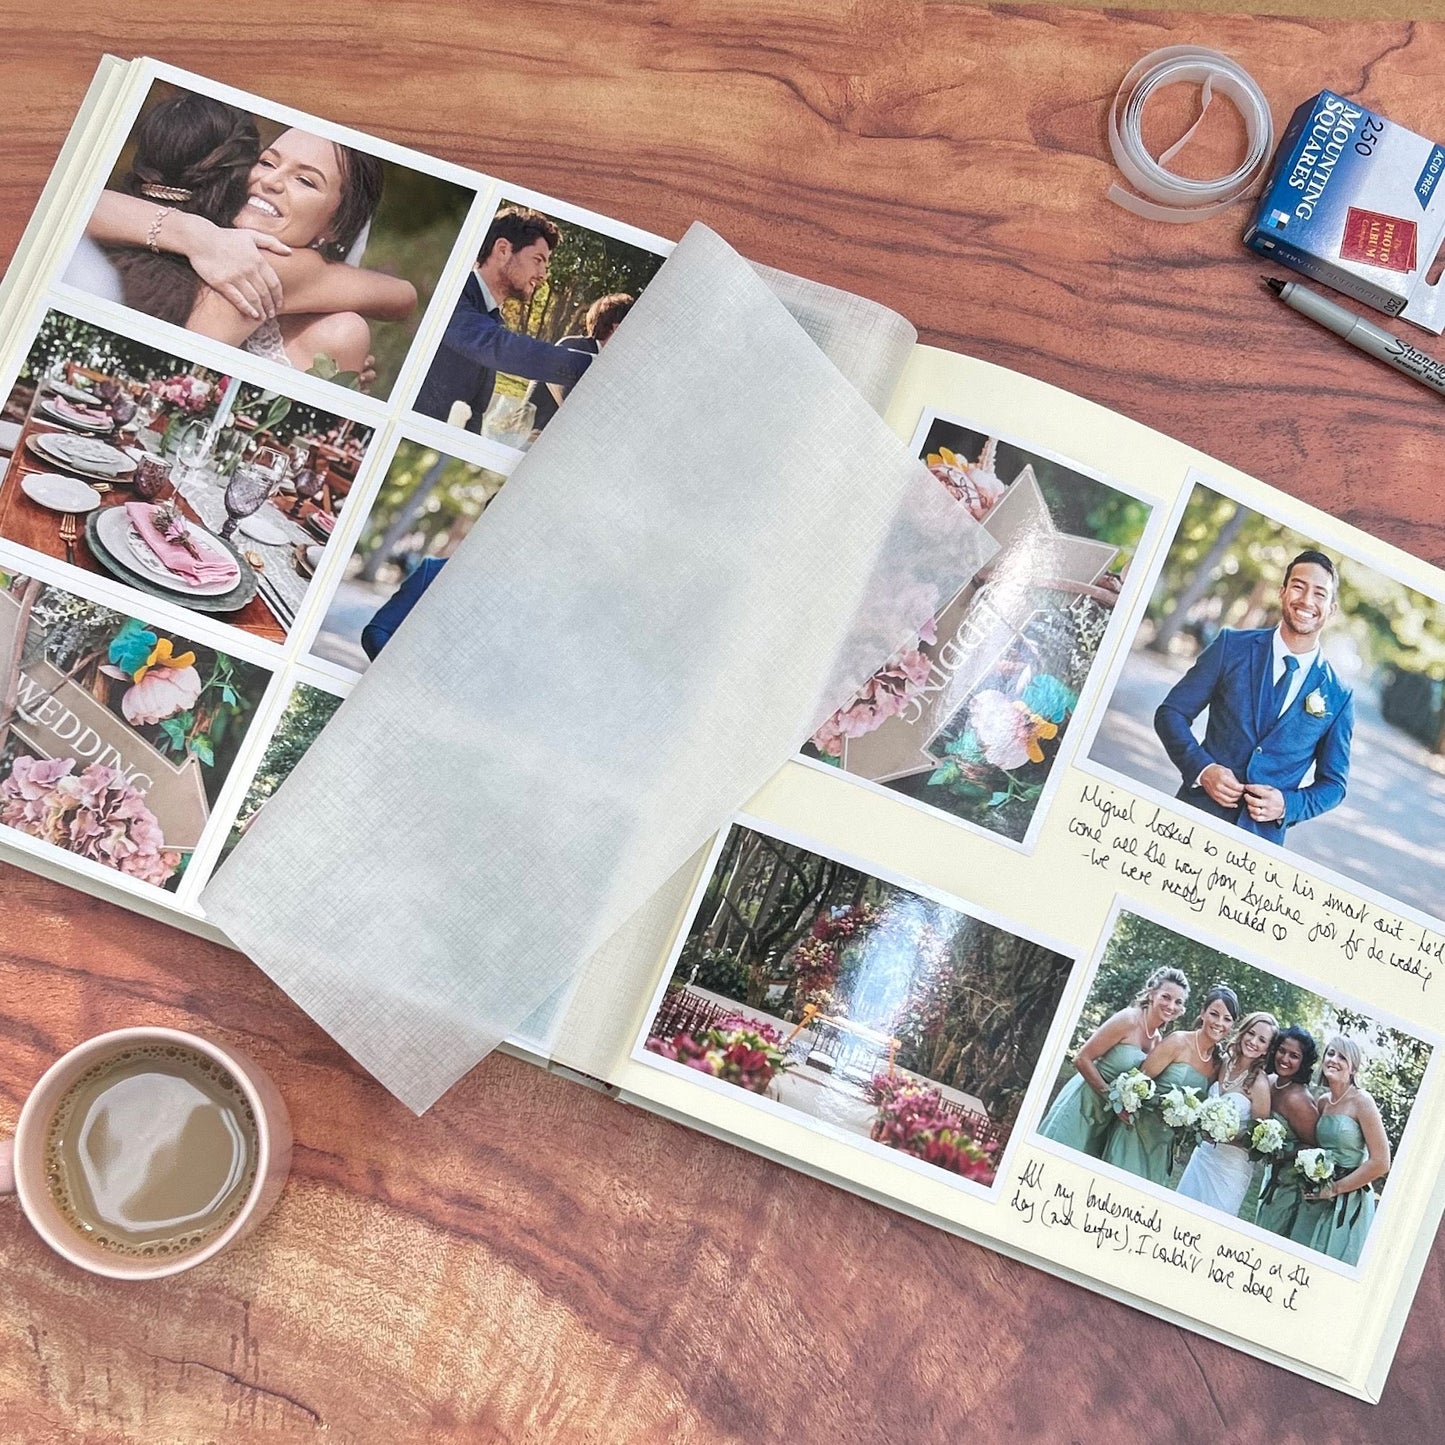
Step 4: Set up your sticking station
Clear a table, wash hands, make tea. Gather mounting squares, double sided sticky tape (or pH‑neutral archival glue), a soft pencil, ruler and a clean cloth. Lightly pencil page numbers on the bottom corner (then rub out later!) so you can plan your flow before anything is permanent.
Step 5: How do I lay it out?
Why not start with a scene‑setter (venue or flowers), then move through the day , getting ready, ceremony, confetti, portraits, reception, dancing, wee small hours? Keep 4-5 photos per page, let your favourite ones stand out, and balance busy spreads with calmer ones. Matching tones on a spread (all warm sunset shots, or all black‑and‑white) makes everything feel intentional.
Step 6: What's the best way to stick photos in?
Use photo corners for a reversible, traditional finish; if gluing, use a thin line only. Add tiny captions: names, songs, toasts, funny one‑liners. Those details may feel obvious at the time but in ten, twenty, thirty years time you'll be amazed at how much you've forgotten!
Quick answers
How long will it take? If your photos are pre‑picked, two relaxed afternoons is realistic.
What if I make a mistake? Photo mounts and glue dots lift with a bit of pressure. If the page rips a bit then it will be fine as you'll be putting another photo in it's place anyway!
Can I mix colour and B&W? Absolutely - B&W makes brilliant pauses between colourful pages.
Ready to begin?
I really hope we've tempted you! Start with choosing a photo album so you know the size and amount of photos you'll need. Then choose the images, get them printed and you're ready to go! It's a really lovely experience, honestly! Do message us or give us a call if you get in a pickle :)